March in Wisconsin means the sandhill cranes are migrating North and is one of the first signs of impending SPRING, which was the inspiration for the lotto block this month. It’s kind of a flying geese meets log cabin, with a gray gradation twist (gray-dation?).
I went with red because it reminded me of cranes, but you can choose whatever single bright/bold color you would like against the gray background (multiple fabrics should be roughly the same hue).
How about orange:
Maybe yellow is more your thing (LOVE it w/ the gray!):
Lime, it’s not just for margaritas:
Teal. Literally, a blue winged teal:
Maybe you have the blues:
Flying purple nectar eater:
P!nk:
Here is the basic block design (sorry the pieces aren’t in color, I am limited in Excel…). The dotted lines represent the seam below the colored triangle:
And here is a table w/ piece dimensions:

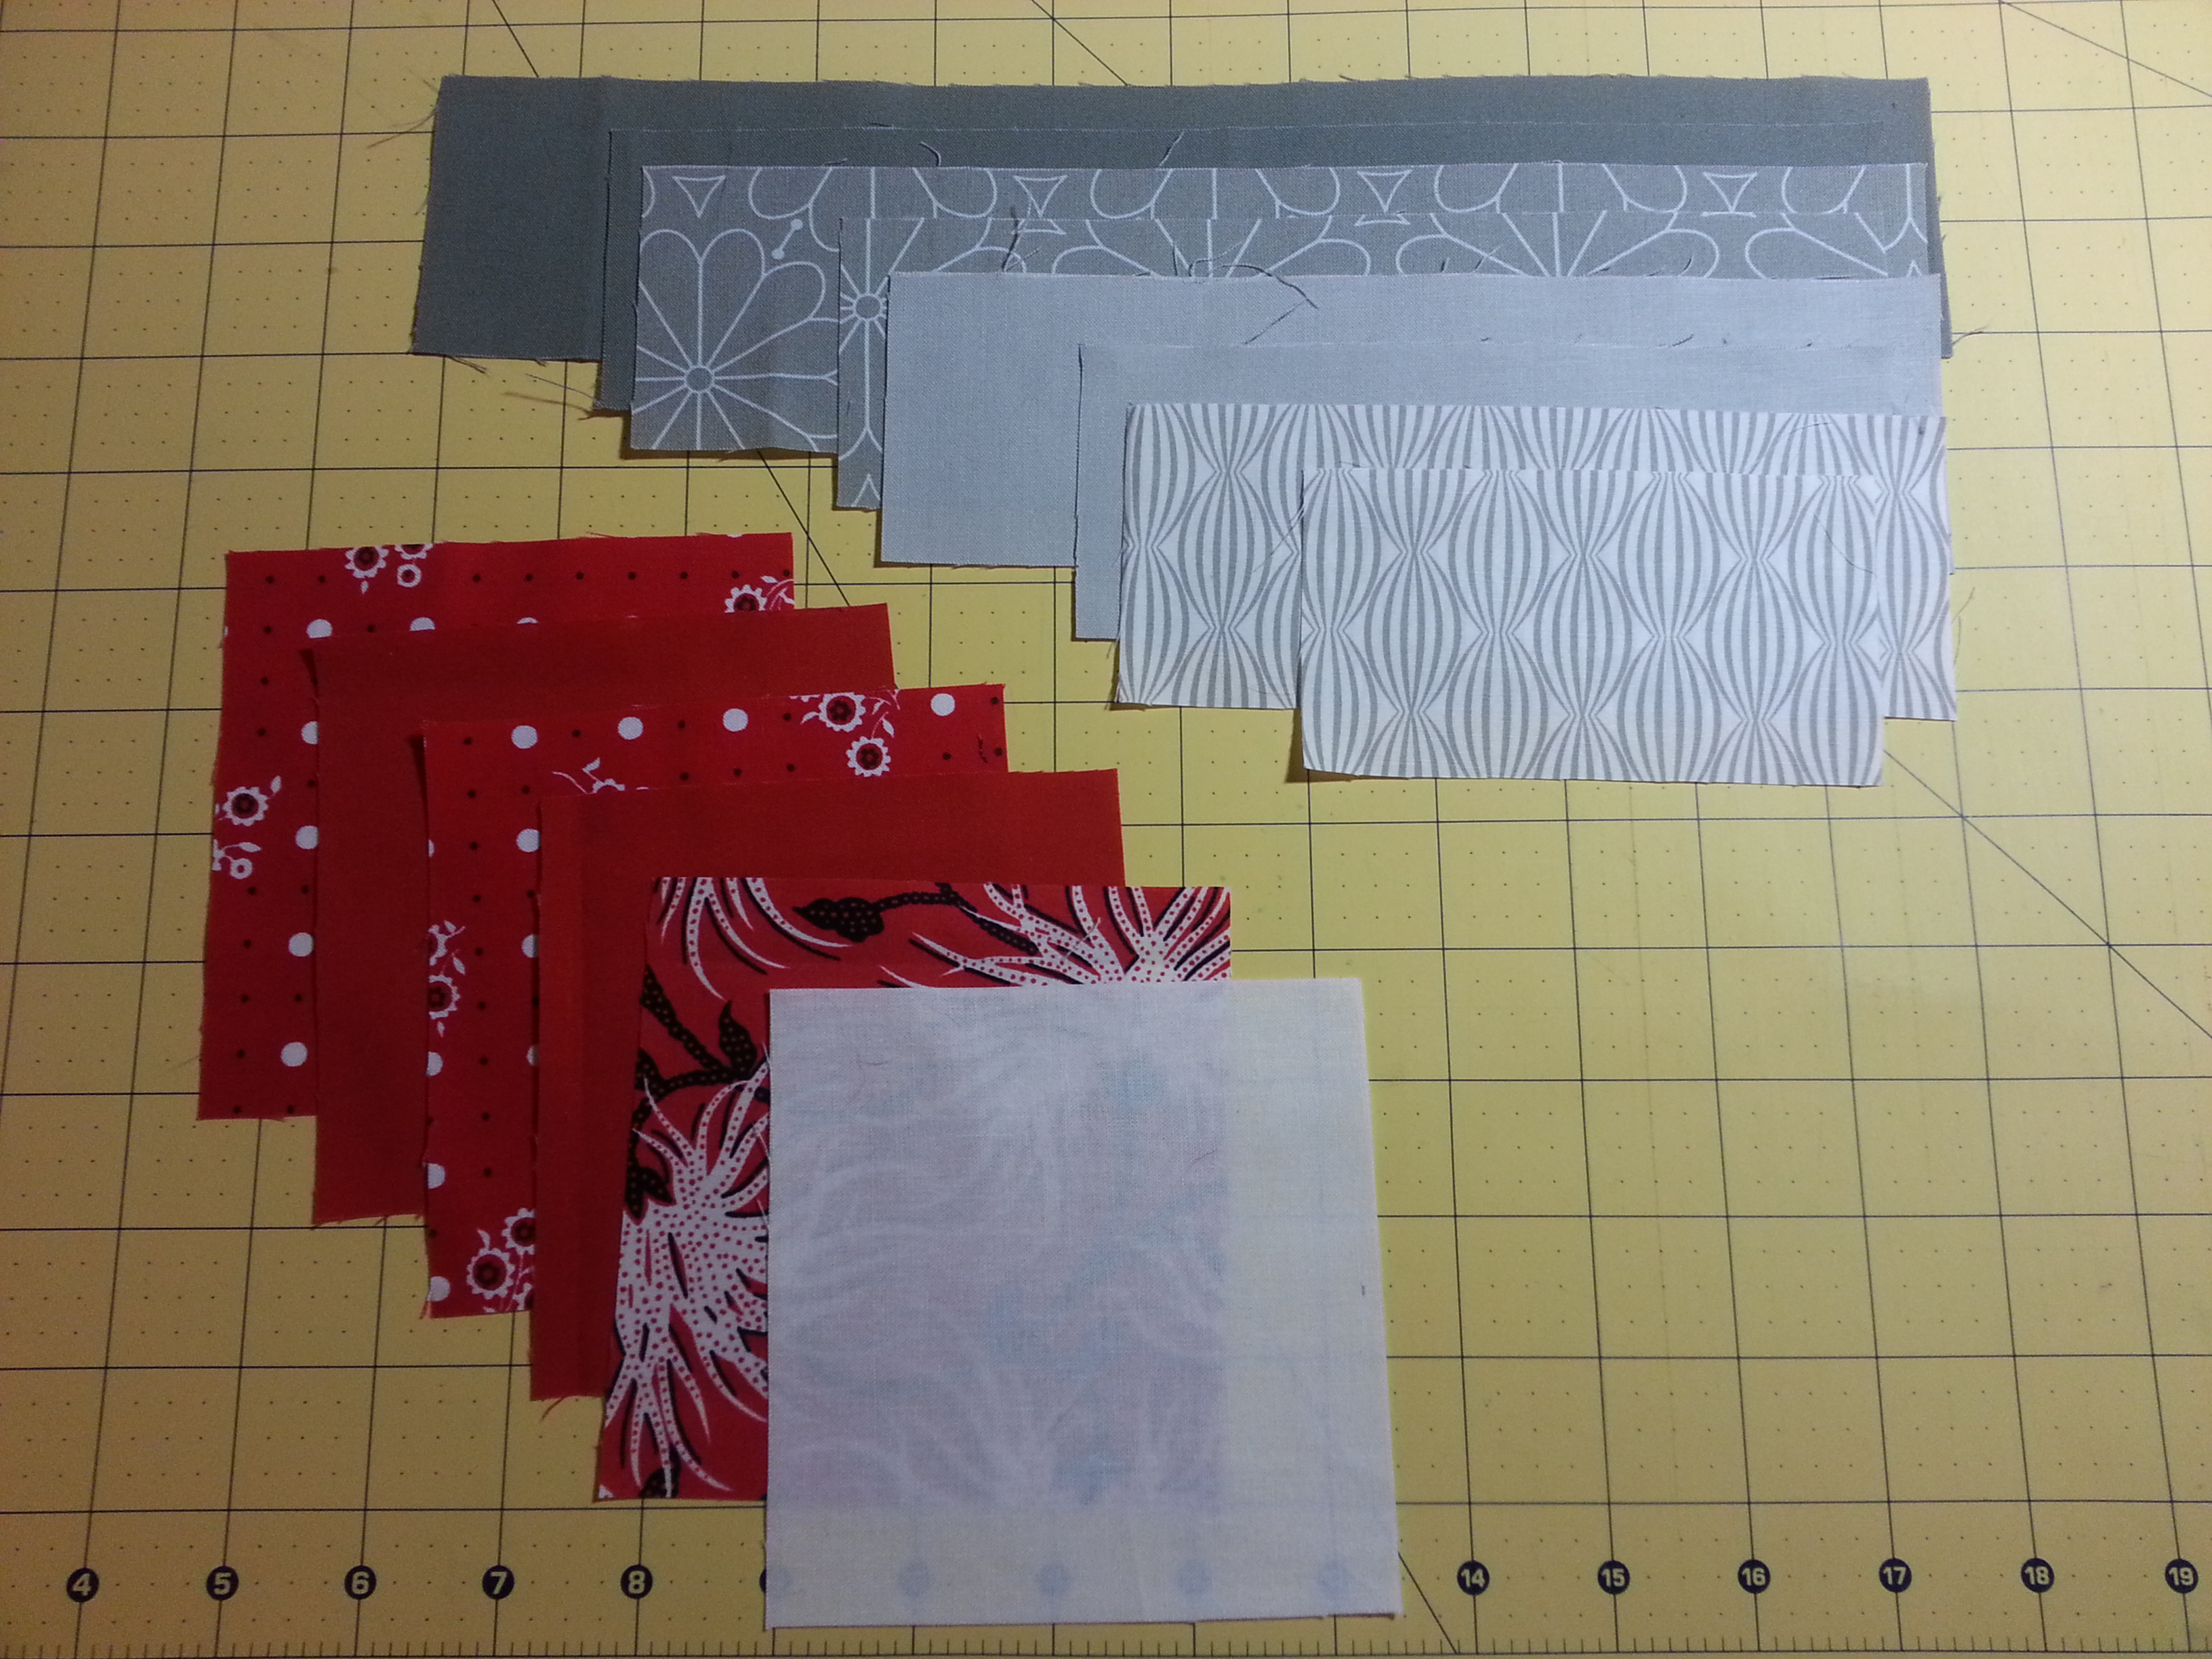
In the real fabric world, you’ll have something like this:
I recommend laying everything out to get all of your ducks in a row (OMG, I’m hilarious, right?!?) so that you can see how all the pieces play together and then you’ll burn through the piecing in no time (believe me, time will fly by…again, so FUNNY…except when you forget something – see below):
You’ll start out by making a HST block using the white square piece and one of the color square pieces (see January block lotto for instructions). Trim it up to 4.5″ square and add the smaller of the two ‘Gray 1’ pieces, followed by the second, slightly larger ‘Gray 1’ piece.
And now is about the time I got so excited making the block that I forgot to take any more pictures. Tutorial FAIL! I’ll talk you through it as best I can, and using the block diagram above will be helpful.
Basically, you place another color square right side down over the ‘Gray 1’ pieces you just attached to the white/color HST. Line up the corner edges and sew a diagonal seam from one corner of the corner square to the other, parallel to the initial HST block seam (mark a chalk or pen line along the diagonal for guidance if you wish…I did!).
Repeat gray strip piecing w/ other gray-dations.
When you finish, it will look a little somethin’ like this:
If you are feeling particularly sassy, and are a fan of improv, feel free to mix it up and make it wonky. You can do wonky color triangles, wonky gray strips, or both! I would request that you try to make sure that first white/color part of the block has 1/4″ allowances along the outside of the block once the ‘Gray 1’ pieces are attached, so that when all the blocks are sewn together the points of the triangle will meet the next block for consistency (let me know if that doesn’t make sense!).
Shown below (it’s square, I swear!):
OK, that was the quick and dirty tutorial just to get the lotto block out to the masses… Please let me know if there are mistakes or you have comments/questions!
Happy quilting, ya’ll!
-JEB


